New and Improved method of integrating Azure AD in Azure Kubernetes Service (AKS) - Preview
Before this new method when building an AKS (Azure Kubernetes Service) cluster with Azure AD (Active Directory) integration you had to create both a client and server application in your Azure AD, as well as requiring you Azure AD tenant to grant Directory Read permission, well not anymore! With this new method, which is currently in preview as of the publish date on this blog post, the process of creating an AKS cluster with Azure AD integration is so much simpler, basically the AKS resource provider manages all of this for you.
As stated above, this is currently still in preview and currently this will only work with a new AKS cluster. Hopefully once out of preview this limitation will go.
Before you begin
Before we get into the good stuff you will need to make sure you have a few things first.
Azure CLI, version 2.5.1 or later
kubectl 1.18 or later
aks-preview 0.4.38 extension
In your favourite terminal use the following to check you are ready.
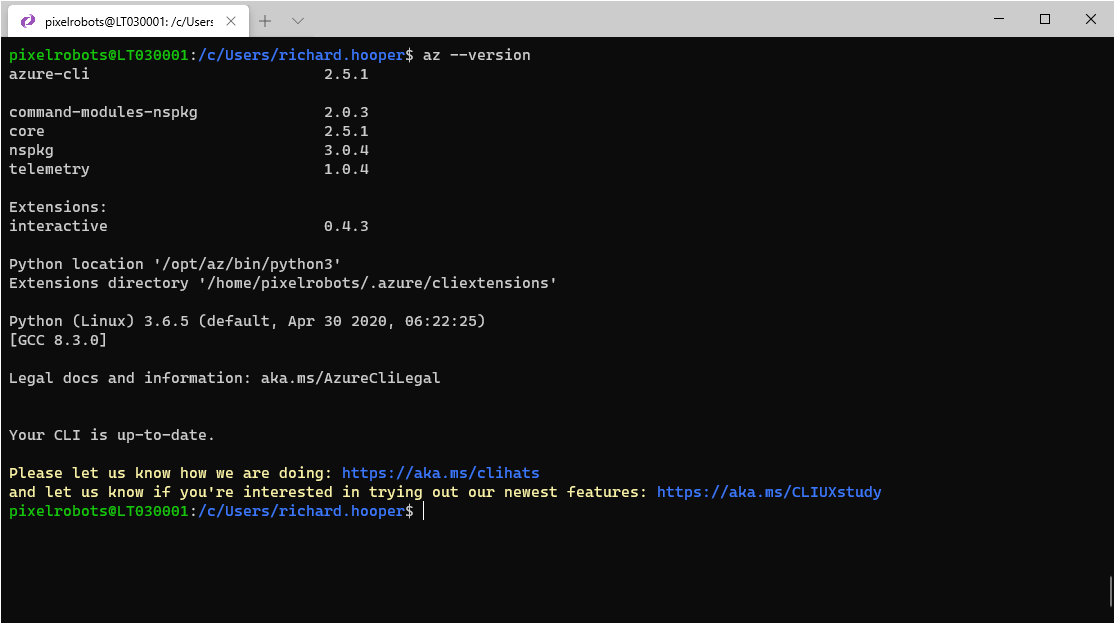
To check your Azure CLI version use the following:
az -version
If you need to update head over to https://docs.microsoft.com/en-us/cli/azure/install-azure-cli?view=azure-cli-latest
To check your kubectl version use the following:
kubectl version –client
If you need to update, then use the following:
sudo az aks install-cli

Now to install the aks-preview extension. To do that use the following:
az extension add --name aks-preview

If you have an aks preview extension installed already just change add to update. You can use the following to check if you have the extension installed:
az extension list
Warning:
Registering a feature on a subscription can not currently be unregistered. When you enable some preview features, defaults might be used for all AKS clusters created afterwards in that subscription. Only do the below on your test dev subscription and never in production! You have been warned.
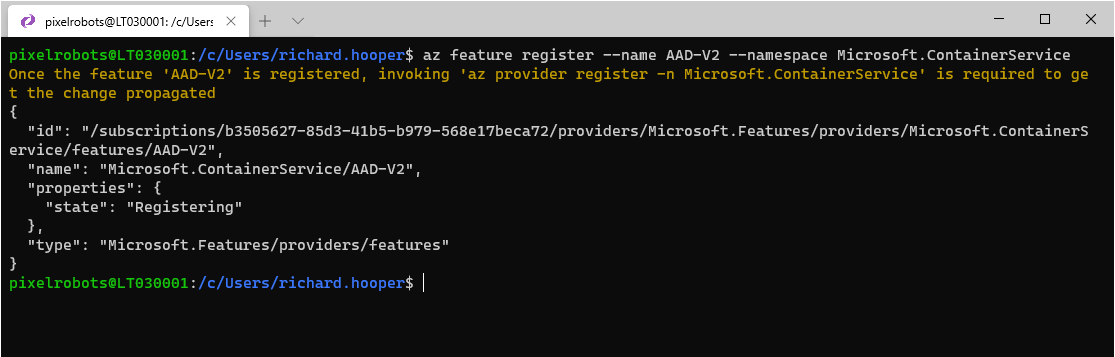
Now it is time to register the new and improved Azure AD integration feature. To do that use the following:
az feature register --name AAD-V2 --namespace Microsoft.ContainerService
It can take a while to register after running the above command. To check the status, you can use the following:
az feature list -o table --query "[?contains(name, 'Microsoft.ContainerService/AAD-V2')].{Name:name,State:properties.state}"
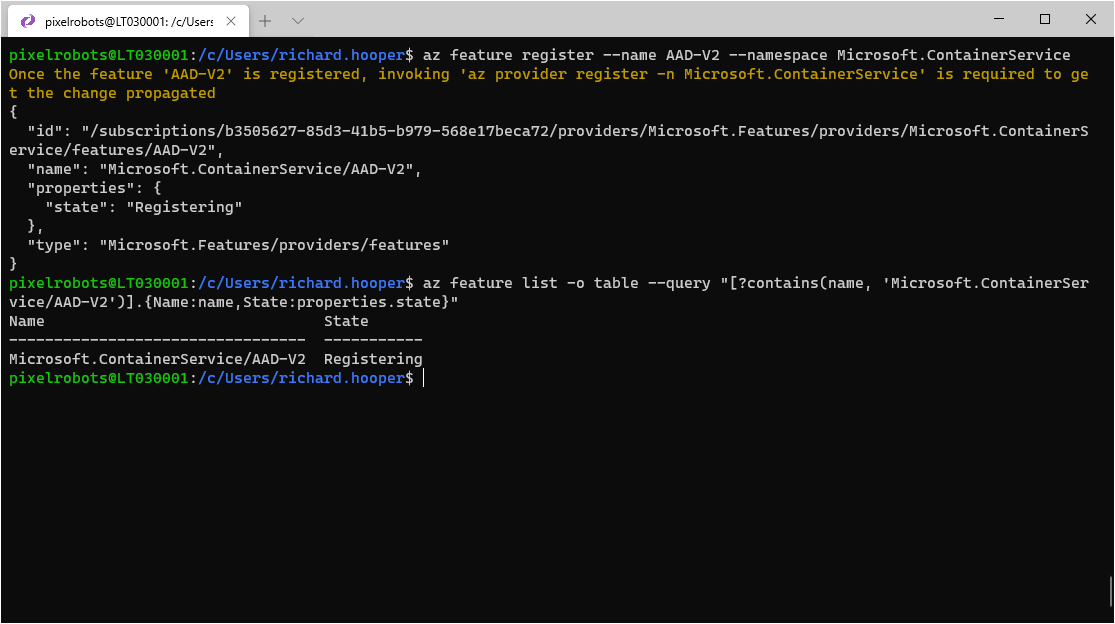
As you can see in the image above it is still registering. Once the status says Registered you will need to refresh the registration of the Microsoft.ContainerService resource provider by using the following command:
az provider register --namespace Microsoft.ContainerService 
Awesome, now you are nearly ready to build the cluster, but first…
Creating an Azure AD group for your AKS cluster
If you do not have an Azure AD group ready for managing your AKS cluster then you can create one using the following:
az ad group create --display-name AKSAdmin --mail-nickname AKSAdmin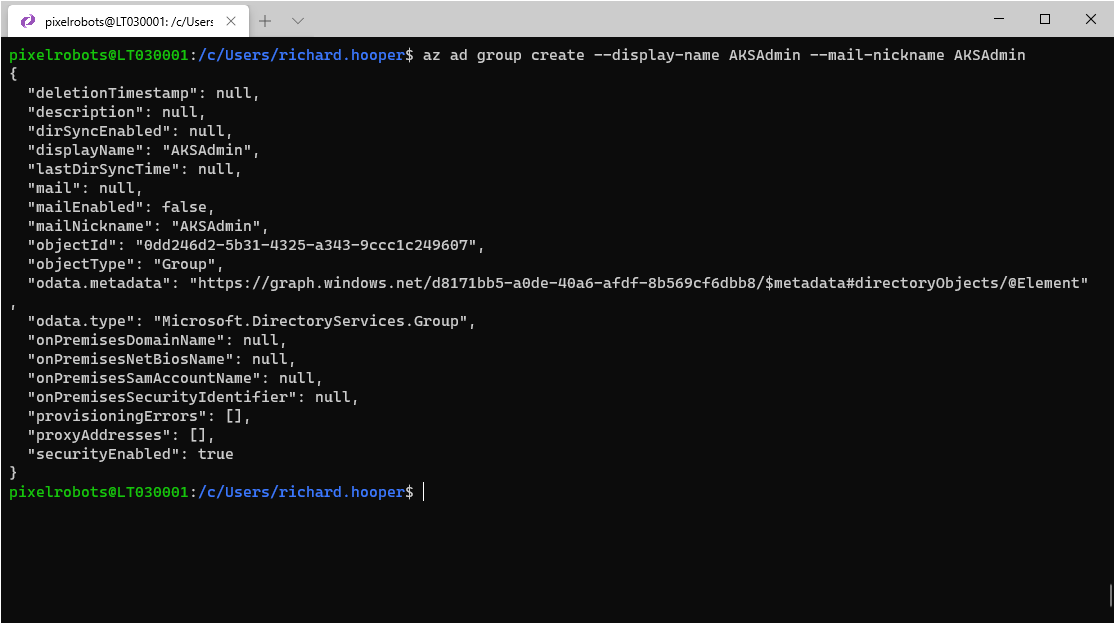
To add yourself to the group, use the following to get your object id:
id=$(az ad user show --id yourlogin@domain.com --query objectId --output tsv)
Then use the following to add yourself:
az ad group member add --group AKSAdmin --member-id $id

Now its time to actual create the AKS cluster.
Create your AKS cluster with Azure AD enabled
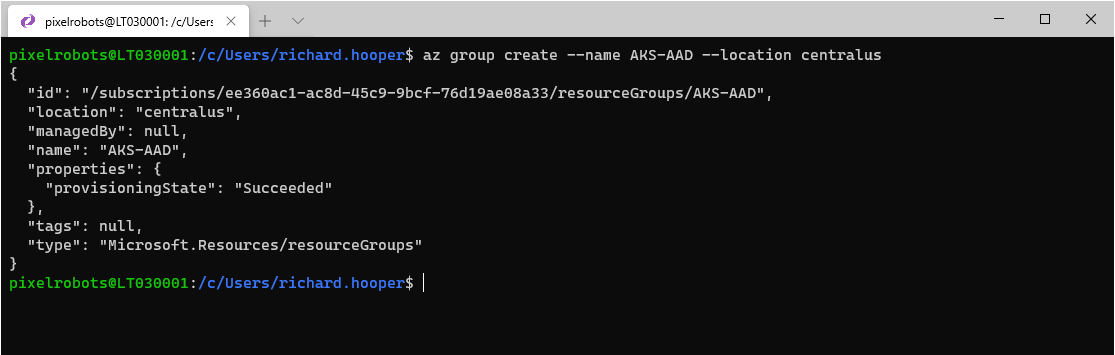
First you will need to create a resource group for your cluster by using the following:
az group create --name AKS-AAD --location centralus
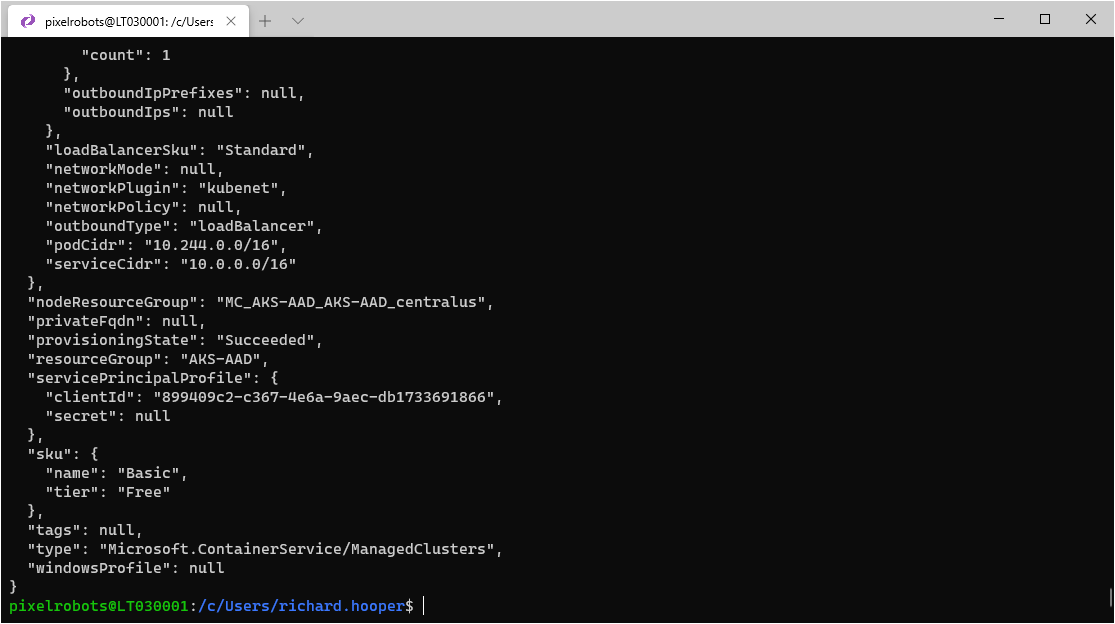
To create the AKS cluster you can use the following:
groupid=$(az ad group show --group AKSAdmin --query objectId --output tsv)tenantid=$(az account show --query tenantId --output tsv)az aks create -g AKS-AAD -n AKS-AAD --enable-aad --aad-admin-group-object-ids $groupid --aad-tenant-id $tenantid
After a few minutes you will have your new AKS cluster using the new Azure AD integration.
Time to test accessing your Azure AD enabled cluster
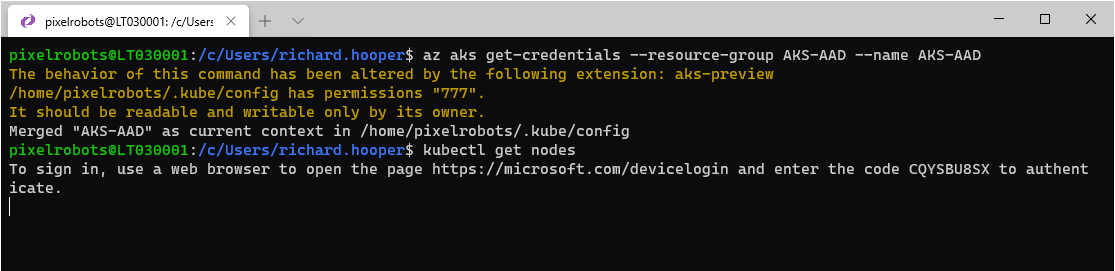
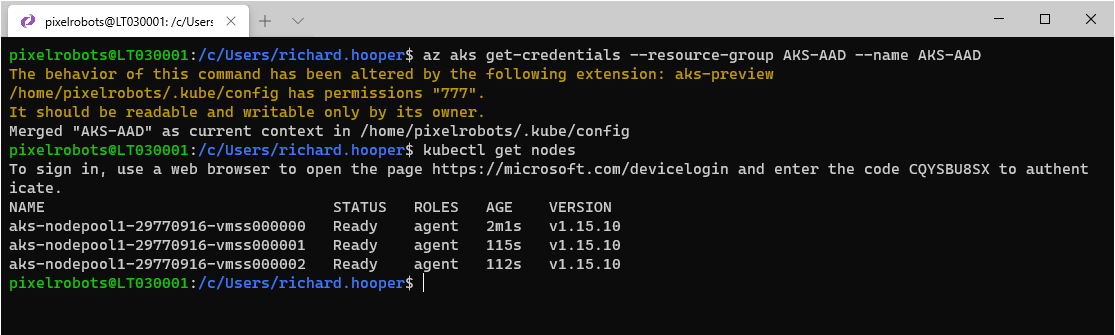
First you need to use the following to download the kubeconfig file to your machine:
az aks get-credentials --resource-group AKS-AAD --name AKS-AAD
Now use the following to check your nodes
kubectl get nodes
You will be prompted to sign into the cluster via a webpage, go ahead and do that.
Once you have signed in you will see your nodes.
All in all
So, you have created an AKS cluster using the new way to integrate Azure AD. As you can see it is a lot easier than the previous method and I really like it. Once it comes out of preview any new cluster, I build I will be using this. Hopefully, I will be able to add this to my existing ARM template which can be found in my GitHub repo. https://github.com/PixelRobots/ArmTemplates/tree/master/AKS_node_pools_ARM
I would only recommend the above example for you to play with. If you would like to use this in production, I would wait for it to come out of preview and use RBAC with your cluster. You can see a previous blog post on this. https://pixelrobots.co.uk/2020/01/create-an-azure-kubernetes-service-aks-cluster-with-azure-ad-integration-using-the-azure-cli/
I hope you found this blog post helpful. If you have any questions, please reach out.

Richard Hooper
Richard Hooper is a Microsoft MVP with one of the top blogs at https://pixelrobots.co.uk . You can also find him on LinkedIn and Twitter